This is a sponsored post written by me on behalf of Floor & Decor. All opinions are 100% mine.
We are nearing the final touches on our massive DIY kitchen renovation. Next up our tile backsplash. Learn how to install a tile backsplash on your own and check out how Floor and Decor made this vision come together.


One Stop Shopping Experience
This kitchen renovation has been nothing short of exhausting but seriously so rewarding at the same time. I keep looking at our kitchen and thinking about how far we have come, how much pride I have in our work and how NONE of this would have been possible without the experts from Floor & Decor.


When we set out to take on this incredible renovation…BY OURSELVES…we were pretty intimidated, but ready for the experience. We had checked out the Floor & Decor showroom and knew pretty much right away that we would be purchasing our materials from them. Our shopping experience was really one stop and was incredibly personal.


The Floor & Decor sales associates were knowledgeable, helpful and really tailored our shopping experience uniquely to what we needed. They helped us create a design and match the various cabinets, floors, tile and countertops so everything would look beautiful. They had those top-quality products at rock-bottom prices that fell well within our budget and a wide-variety of in-stock product so we could walk in with our list and walk out with everything we needed.
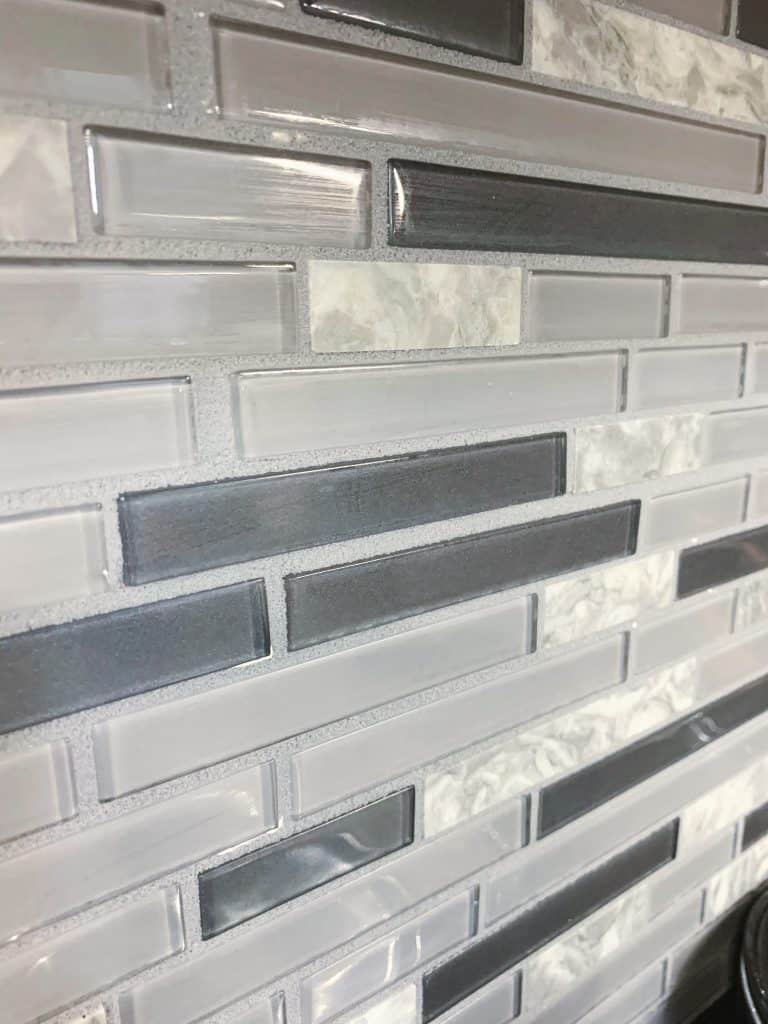

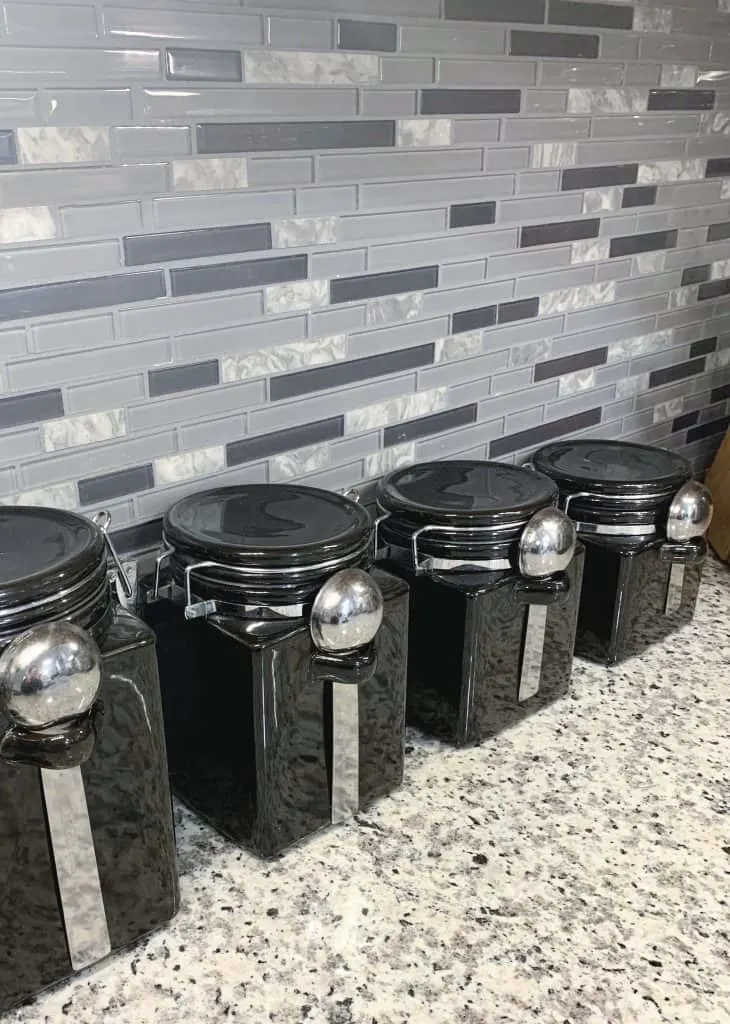
One of the main products we were looking for was a mosaic tile backsplash that would blend seamlessly with our new granite countertops. We went with the Montage Chelsea Gray Glass Mosaic tile and also picked out a nice grey premixed grout as well as some mortar and tools to get the job done. We were ready to start that DIY backsplash!
How to Prepare For Installation
We waited until our new countertops were installed before we worked on the backsplash. This was recommended to us from our countertop company and we are so glad we listened. To prepare for the backsplash to be installed we had to remove the old “backsplash” as well as the outlet covers.


I also wanted to get rid of the old landline phone plug in and the cable in the kitchen, so we did patch the wall using a patch kit. We also repaired some of the areas of the drywall that needed to be fixed after removing the old backsplash. Finally we used a degreaser on the walls and cleaned them well before beginning the backsplash.
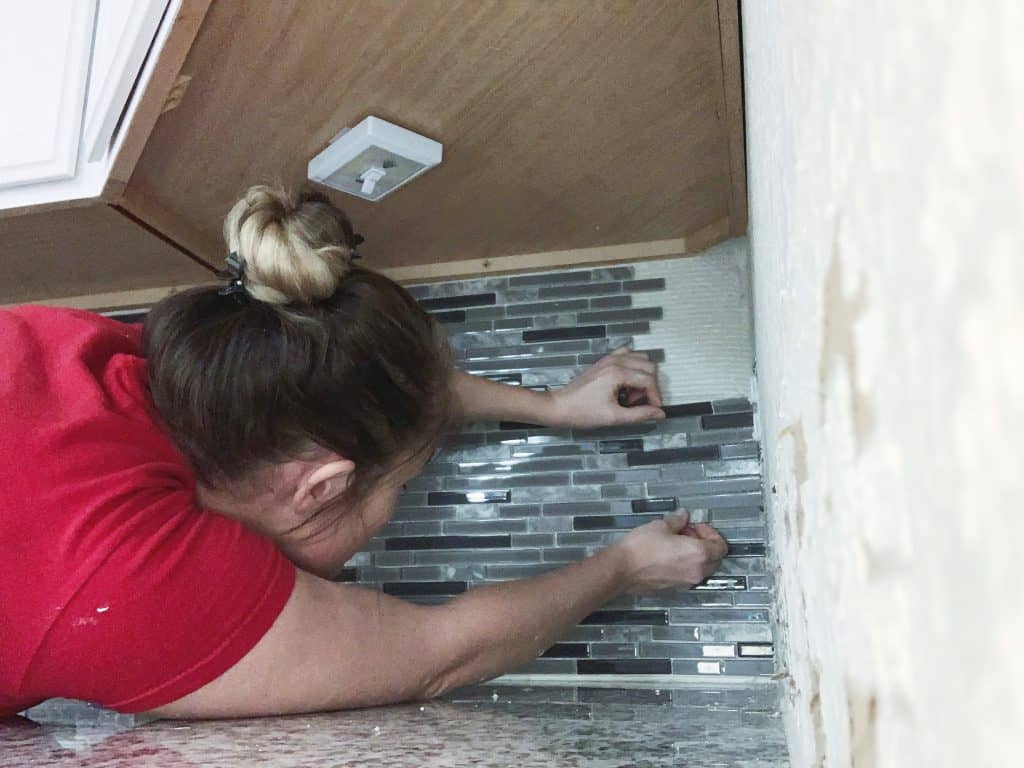
How to Install a Tile Kitchen Backsplash On Your OWN!
I was feeling a bit intimidated about installing this backsplash, but can I tell you that, as we got into a groove, the installation process was actually really smooth. The tools of the trade and the steps are all really repetitive and easy to do. You can get everything you need for this project at Floor & Decor. That one stop shop that makes projects simple.
Tools Needed
- Trowel
- Grout float
- Tile cutter
- Razor knife
- Sponge
- Towel
Steps to Installation
- Decide where you are going to start. You can use a piece of tile edging to add a finished look to your ends. If you decided to use the tile edging, then use mortar to hold it in place.
- Use a tile cutter to even out the end of your mosaic tile pieces on the edge that you plan to start and then place it atop the tile edging and gently press the tile into the mortar. Wipe away any mortar that is excessively coming through the cracks.
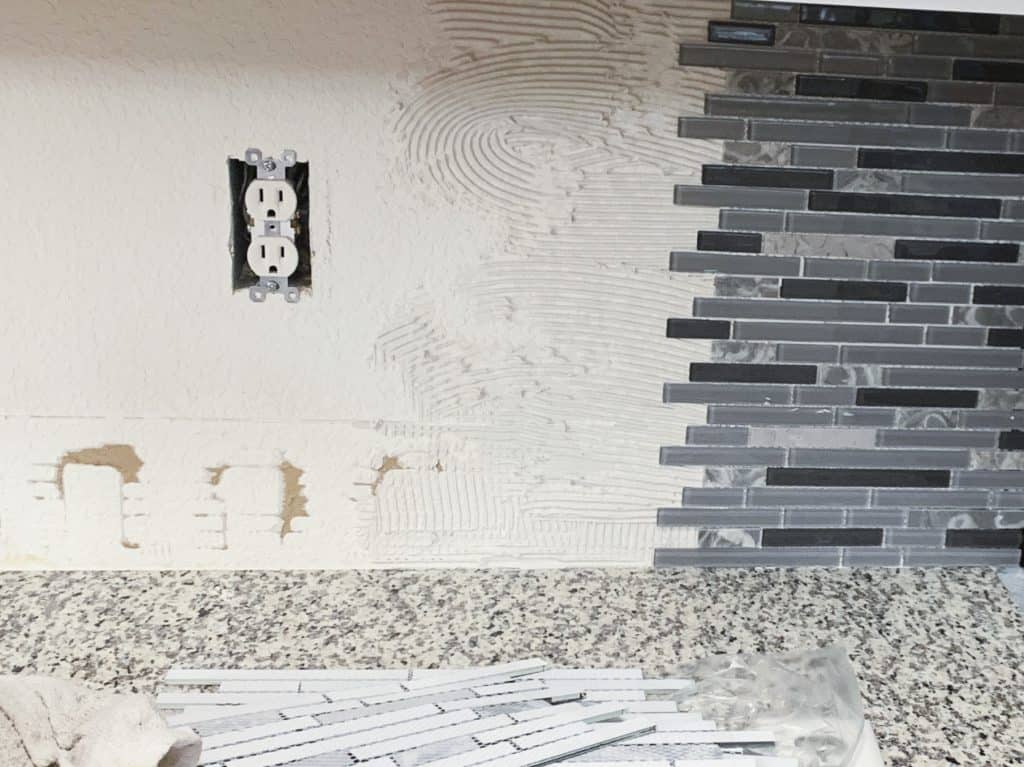
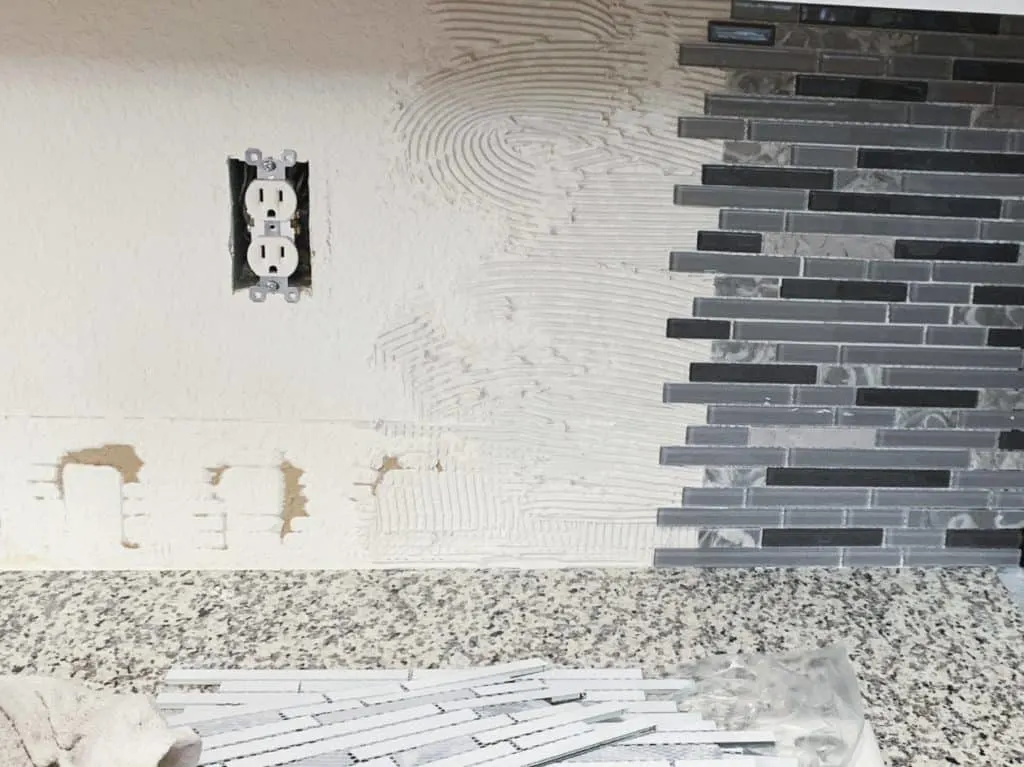
- Spread the mortar on the wall in a somewhat infinity pattern. Make sure that it is even and that you are only putting the mortar as you are working. What I mean is that you should only place what you need and place more mortar as you are working.


- The tile sheets will fit together smoothly like a puzzle piece. To place the next piece, all you need to do is start from where the countertops and wall meet and line up the sheet and then began slowly pressing as you move up to set the tile watching out for the spacing in the interlocking pieces.
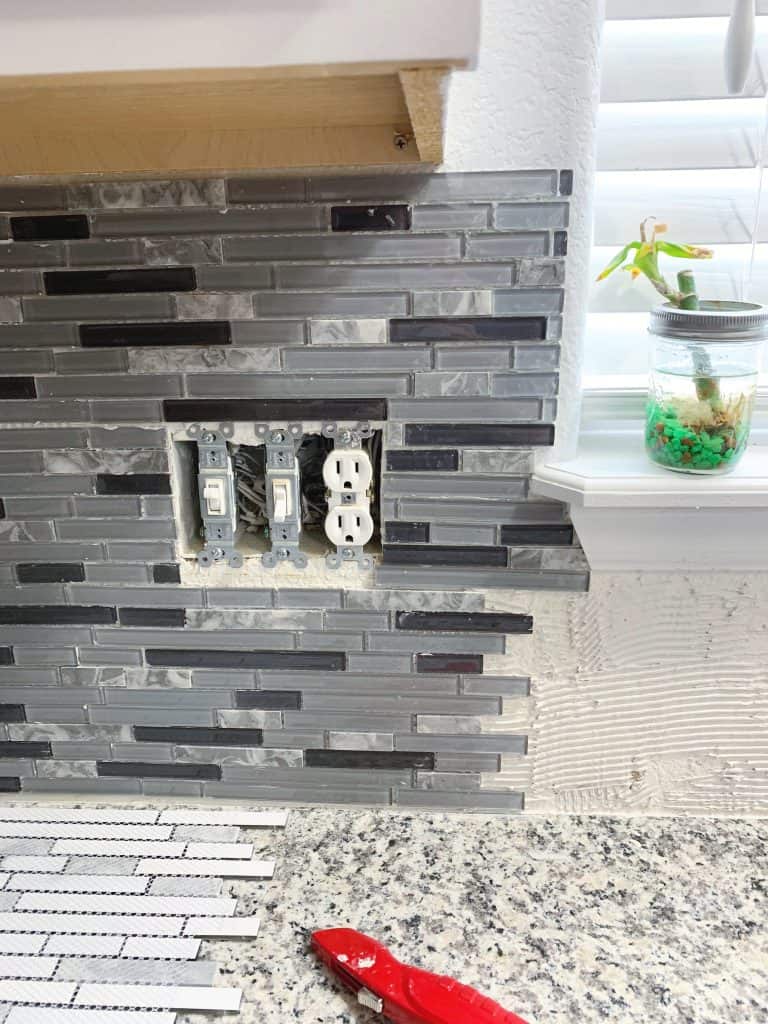

- To go around outlets, you can use a simple razor knife to cut the mesh and then use the tile cutter to even the edges.
- Continue to work through your space placing the tile and cutting it to fit where necessary.

That is it. Once everything is set for a few hours (I preferred 12 myself) then you can begin the grouting process.
Grouting Mosaic Tile
Grouting seemed to be the quickest part of the process. We did use premixed grout that was also colored, which might have aided in that. You will want a nice grout float as well. From there, make sure to tape off the counters and the outlets and then you are ready to start grouting.


Load your grout float with the grout and begin pressing it into the spaces between the tiles. Make sure to go in all directions as you are doing this. Let it sit for about 5-10 minutes and then use a wet sponge and begin wiping the excess grout away.

You will be working on a small section at at time and wiping as you go. Once the grout has set for about an hour, go back through with a wet towel and wipe the tiles again to remove any excess. That is it! You can go ahead and put that kitchen back together. One thing to note, you might need to purchase outlet spacers to extend them so your covers fit.
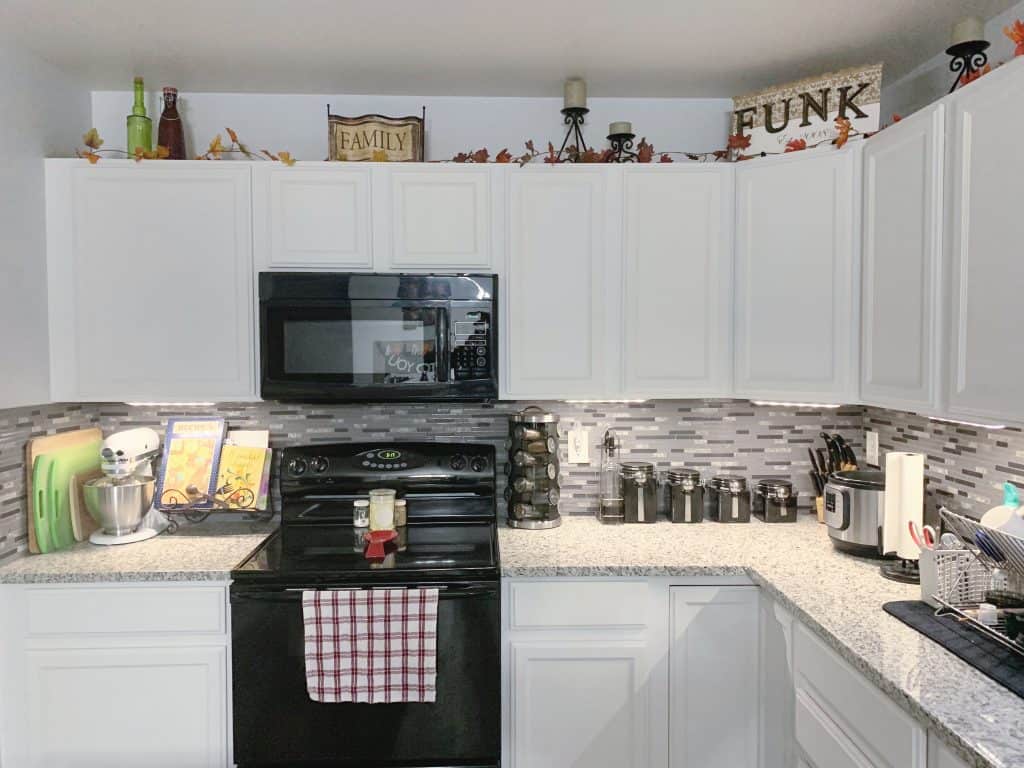
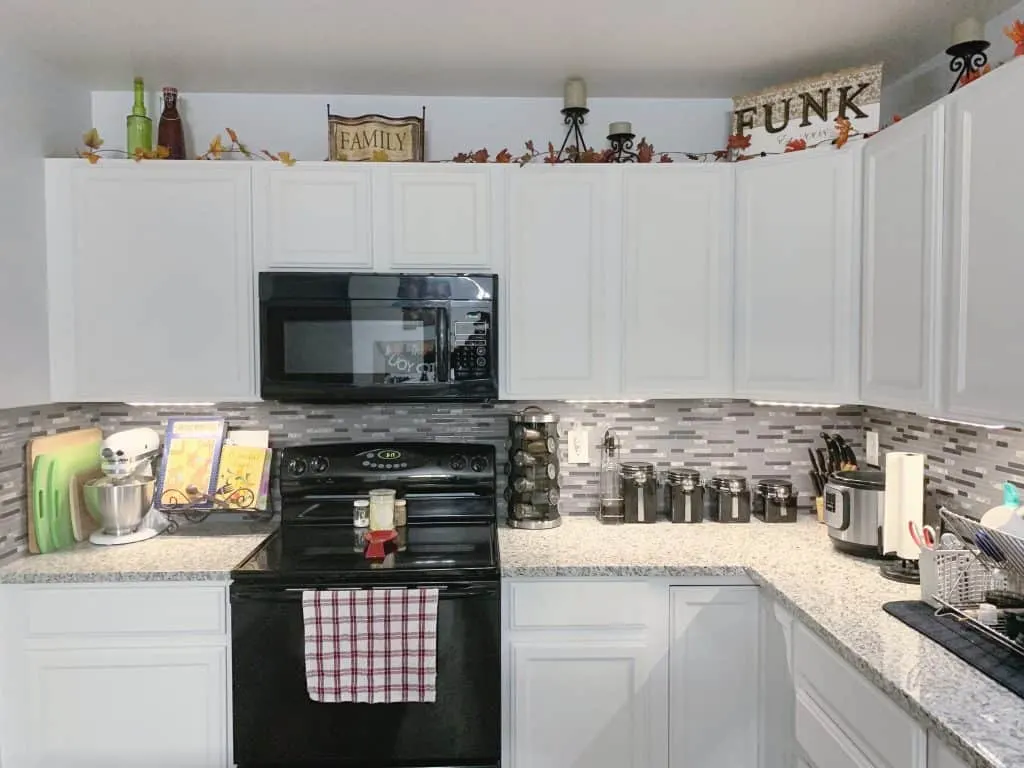
I am so glad we took this project on and am incredibly excited to see how everything came together. We would not have been able to do this without the design help from the experts at Floor and Decor. You can check out their entire stock and learn more about them on their website.


