Cricut is all the rage right now and one of the most searched questions on this site are what are the steps to make a Cricut Project. Well read on and see how I made this tubular 80s shirt!
Disclosure: I am partnering with Cricut. All opinions are my own.

What are the Steps to Make a Cricut Project
Cricut is life over here. I love my machines and use them so often that I now have a space that is dedicated to their use in our home. I often get asked how to make a project or what are the steps to make a Cricut project. Cricut has made projects simple and today I am going to walk you through how easy it is.

Step 1: Pick Your Project & Materials.
You need to have a project in mind before you start designing. Remember that your project needs to be compatible with your machine. For instance, if you have a Cricut Explore model then you can cut over 100 materials with 6 different tools, however if you move to their Cricut Maker models then that project number jumps to over 300 projects with 13 tools!

For my project I am going to make a simple iron-on totally tubular 80s t-shirt. This will require the following products:
- Cricut Explore or Cricut Maker
- Everyday Iron On Vinyl in Neon Explosion and Neon Glowsticks
- Neon t-shirt
- Heat press
- Cricut Weeding Tool set
Step 2: Design your project with Cricut Access
Once you have your project in mind and materials at the ready you can get right to creating your design. Open up Cricut Design Space and begin creating your design. I love that I subscribe to Cricut Access because I am able to have access to thousands of images, ready made projects and fonts to really personalize my designs.
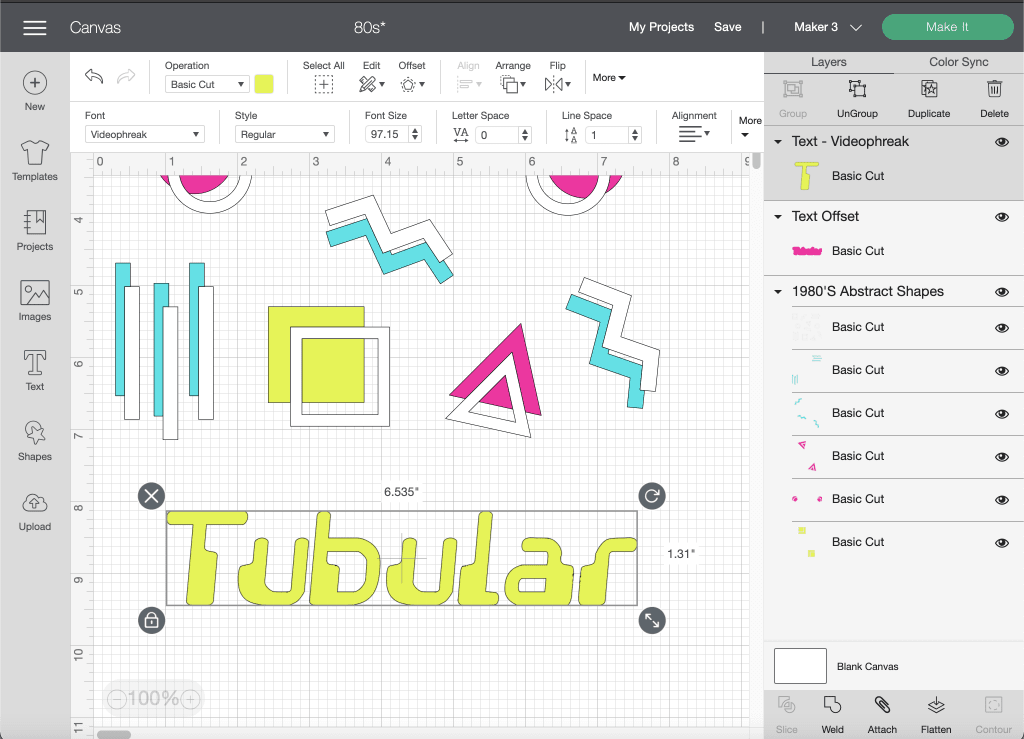
I created this particular project using 1980’s abstract shapes along with a neon font that my computer had. I also decided that I wanted to make the font stand out a bit more on my t-shirt so I decided to offset the font.

Offsetting is super simple. You simply need to select your image that you are wanting to offset and create a background around and then click on the “offset” button at the top of Cricut Design Space. You can then select if you want the offset rounded or sharp and how close or far apart it will be to your design.
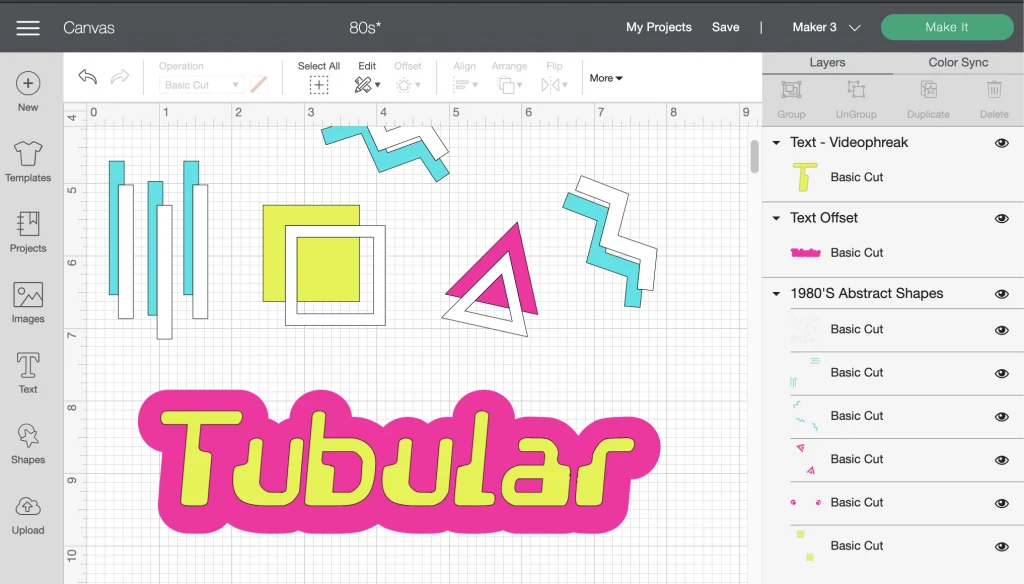
I prefer to put my images and fonts in the colors that I plan on using in the actual project. For me it helps to see exactly what I am creating and make sure that I am not under or over saturating the project with various colors.
Step 3: Set Up Your Mats & Cut
Once you have your design ready, click the “Make It” button at the top corner of Cricut Design Space. You will then be walked through how to set up your mats with the various vinyl colors and you will be able to move the images around to utilize your vinyl and mirror your image.
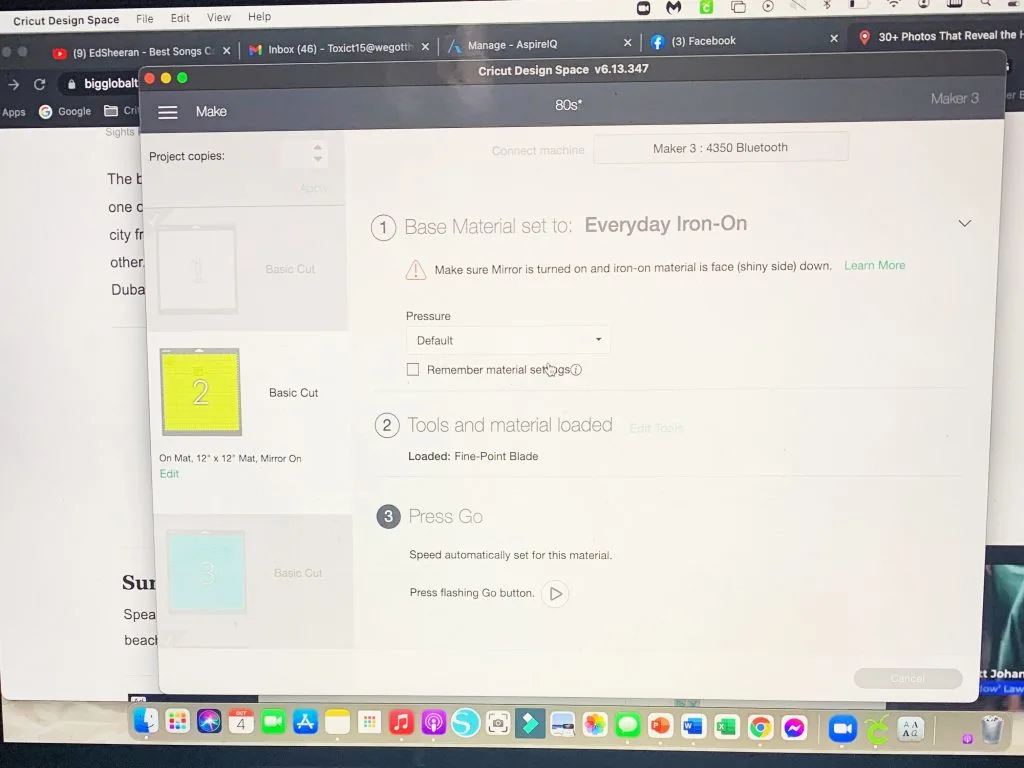
Once your mats are set up the way that you would like them, then you can go ahead and follow the prompts on the screen to choose your materials, ensure you have the right blade and load everything into the machine to start cutting.

It is important that if you are using an iron on design, you need to have the image mirrored and the shiny side of the vinyl down on the mat. Your Cricut will do the rest, so sit back and relax while your design comes to life.
Step 4: Prepare & Weed
After the Cricut has finished cutting your design, you will need to unload your mat and remove your vinyl from the mat. You can then begin to remove the negative space on the vinyl using your Cricut weeding tools.

I like to start by cutting off any excess vinyl that I might be able to reuse that has not been cut in my current design. After that, I use my weeding tool to take the large empty vinyl off the design and then I remove the intricate details to leave just what I created.
Step 5: Put Your Project Together
Once you have your design weeded, you can start to put your project together. For this iron on t-shirt I had some layering that was happening. I also decided to cut apart the 80’s shapes and center them around the font. I laid down the first layer of shapes and the offset and pressed that with my heat press.
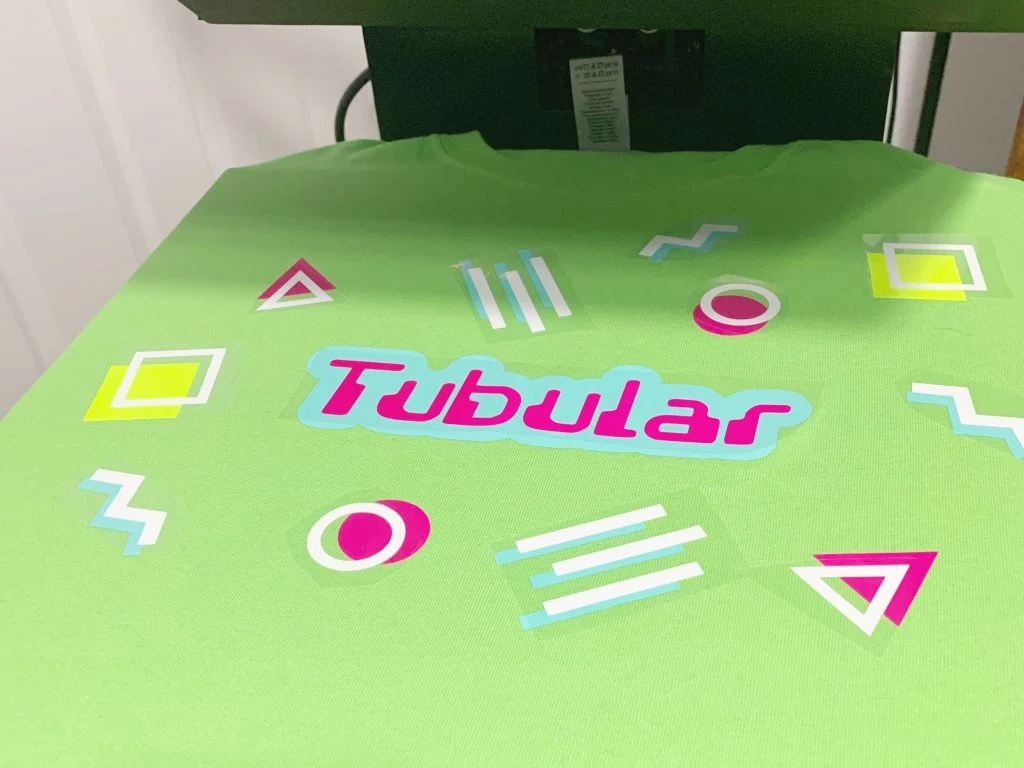
Once the first layer was adhered, I then layered the 2nd layers on and pressed those. I normally would use my Cricut Easypress, but my child put a glue stick all over my mat, and that was drying upstairs at the time I was making the shirt, so I had to use a backup option.
Step 6: Show it Off
The project is done and it feels so good! Congrats! I personally made this shirt for homecoming week at the school I teach out. We had 80s day and obviously I needed something that really brought that spirit to life. I styled the shirt with some other totally 80s accessories and went for it!
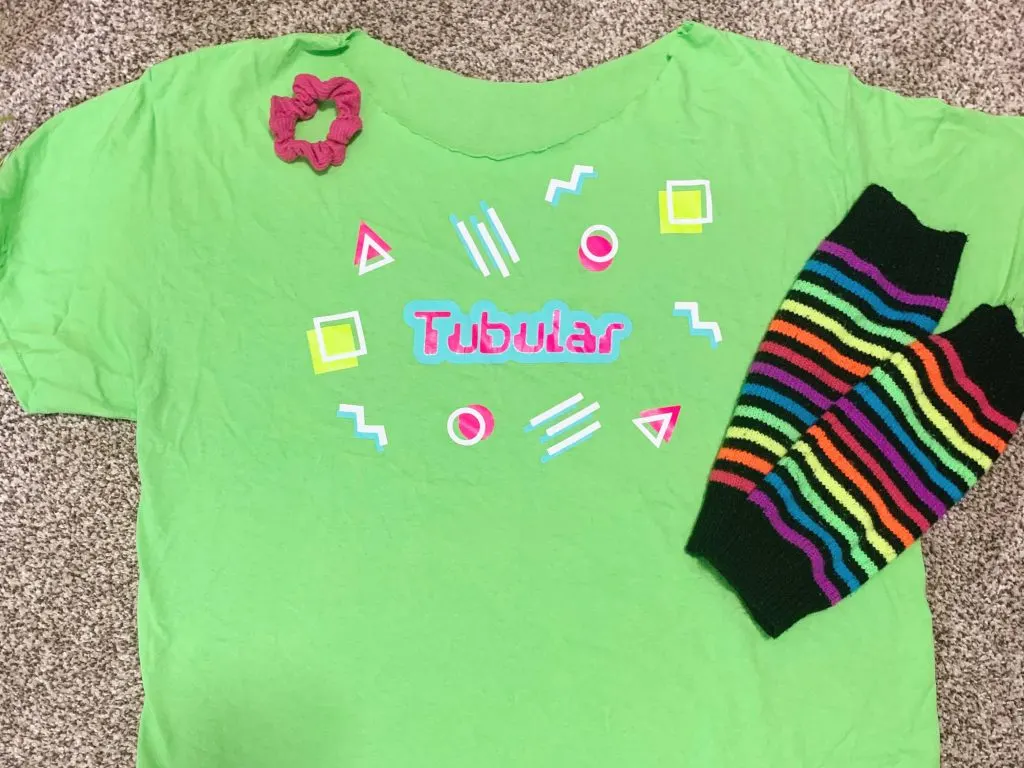
I do want to note here that I did take a normal t-shirt and cut it 80’s style and that prior to pressing the shirt, I had washed it.


