If you are new to Cricut or the Maker family, then you are going to want to check out these 5 easy beginner projects for the Cricut Maker 3.
I am partnering with Cricut. All opinions are my own.

Cricut Maker 3
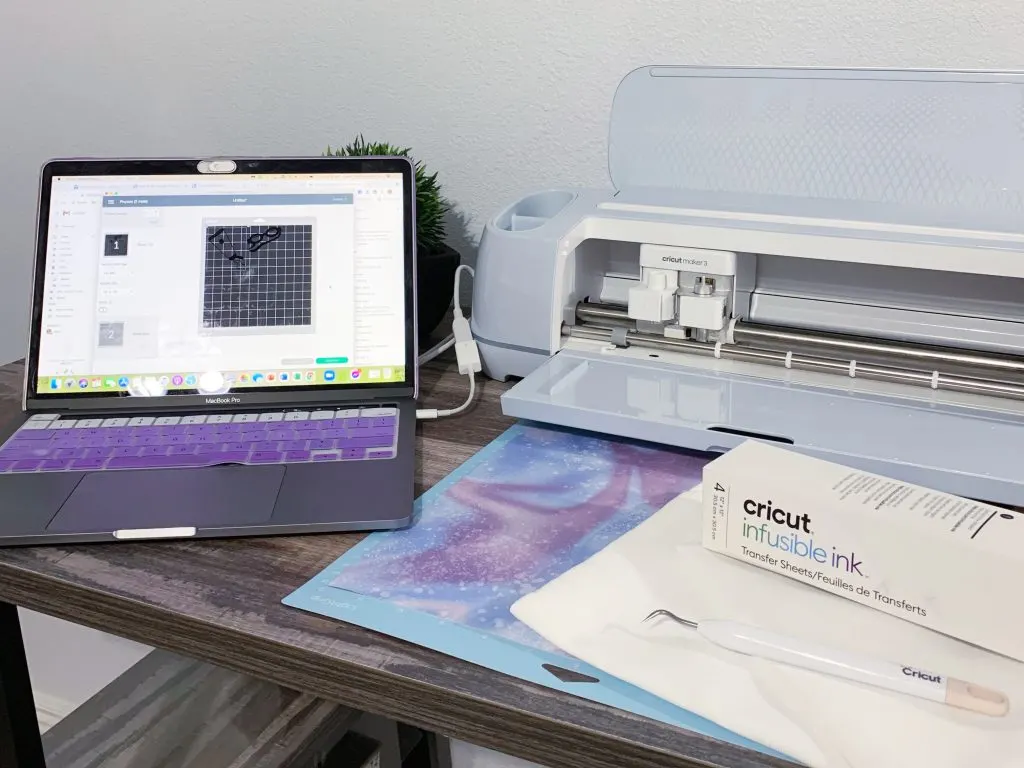
Cricut just released their new generations of elite cutting machines including the Cricut Explore 3 and the Cricut Maker 3. I was super excited to finally get my hands on a Cricut Maker 3 after falling in love with my Explore Air 2. The faster cutting speed, ability to cut more materials and the awesome Smart materials made the Maker 3 the next machine on my list.

I ordered the Cricut Maker 3, which comes in just the blue color along with all of the Maker tools, the Cricut Roll holder, the foil transfer kit, aluminum sheets and of course I had to try some of their Smart materials with the holographic Smart Iron-On!
5 Easy Beginner Projects for the Cricut Maker 3
The Cricut Maker 3 is able to cut a vast array of materials like its predecessor, but faster! I thought I would test out some of the materials for the Maker and share 5 easy beginner projects for the Cricut Maker 3.

Project 1: Infusible Ink & Iron On
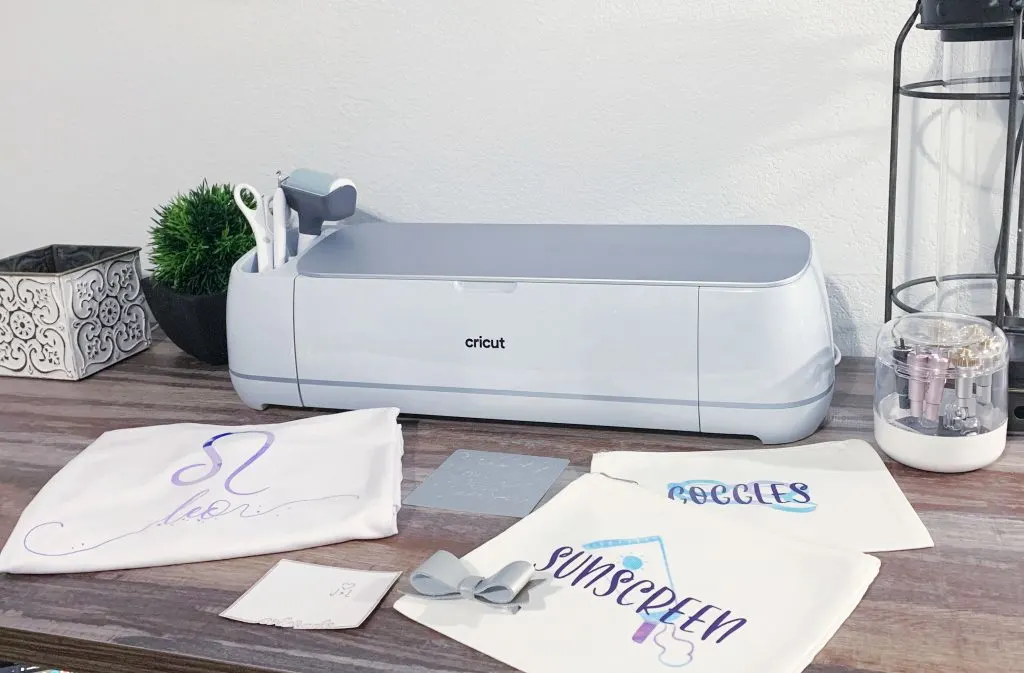
I have been wanted to make these beach bag organizers for a long time. My kids are constantly losing their goggles and the sunscreen amongst the towels and toys. I grabbed my Infusible Ink cosmetic bag blanks and Rainbow Watercolor Splash Infusible Ink, along with some purple Iron on and got to work.

I quickly created my design (which you can get here) and then got to work cutting, weeding and pressing the cosmetic bags. I layered the infusible ink with the iron on and now we are beach ready!

Project 2: Leather Bows
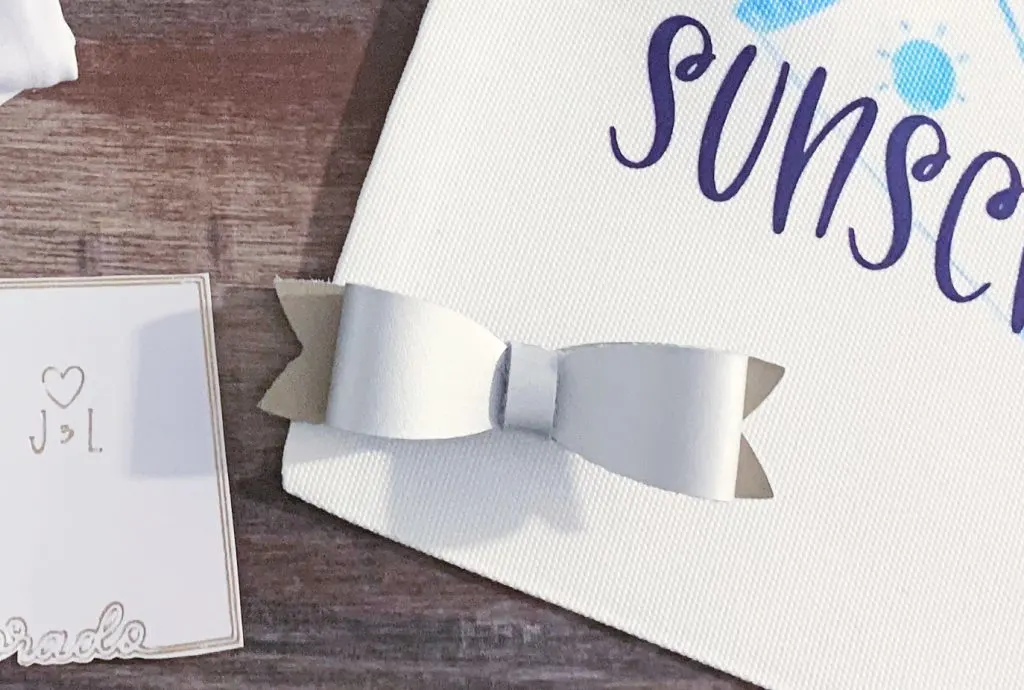
Next up I wanted to test out the knife blade and leather. I have actually wanted to complete this project for a long time, but I did not have the easiest time cutting leather with my Explore Air 2 (I do realize now that I placed the materials on the mat incorrectly). I love bows and so making a 2 toned leather hair bow was right up my alley.

The Cricut Maker 3 cut that leather like it was nothing. I used hot glue to then assemble the bow onto the hair clip and it turned out so pretty. It also sits so well in the hair and is not heavy at all.

Project 3: Smart Holographic Iron On
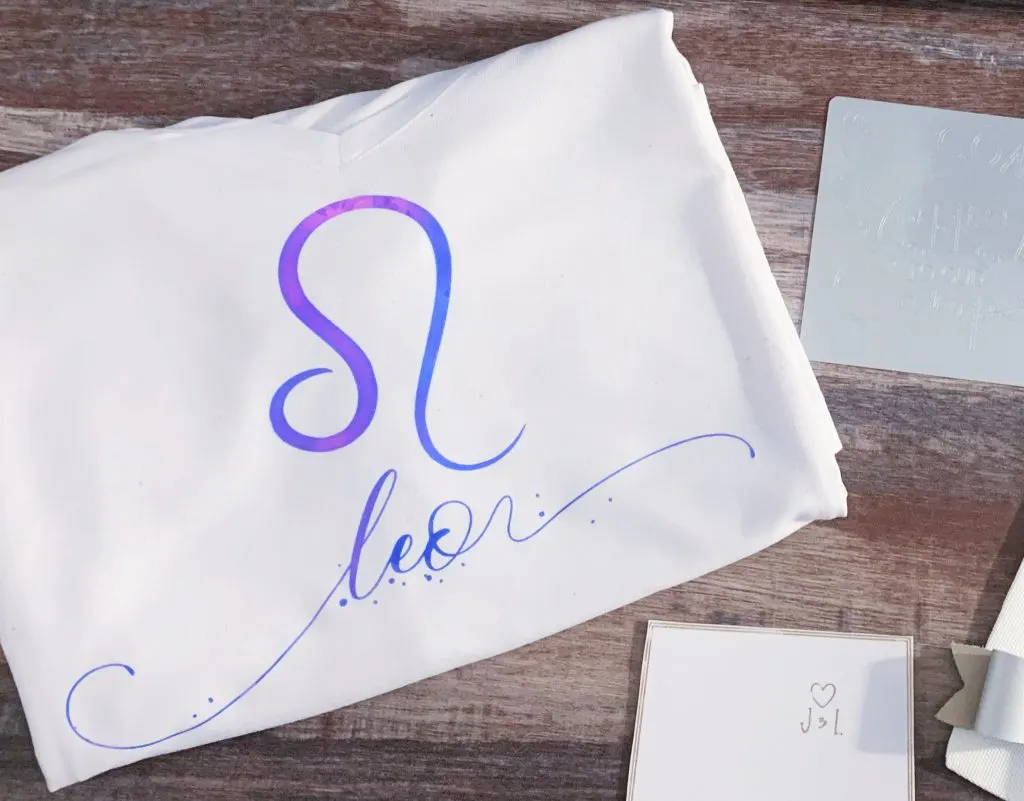
I love my Smart materials for my Cricut Joy and so when I heard that the next generation of Cricut machines were Smart materials compatible, I was so ready to get to work! I grabbed my Cricut Roll holder, the Smart Holographic Iron On and a Cricut T-shirt and this design.

I had never used their holographic material before and was a bit nervous about the thickness, but once the material was cut and pressed onto the shirt, the thickness was not an issue. The shirt turned out stunning, I mean after all, it is Leo season.

Project 4: Foiled Cardstock Sticker
Coming up next was the foil transfer kit and a Smart Cardstock Sticker. Out of all the projects I felt the most nervous about this as I had never used the foil before an it is very delicate. I placed the Smart cardstock on a light grip mat and then positioned the foil as tight as I could a top fixing it with the provided tape in the foil kit.

Using the foil tip, the machine got to work creating the design and imprinting the foil onto the cardstock. I realized after that I could have also done a tool switch and had the machine cut out the sticker so I did end up doing that part by hand, but the result was exactly what I imagined.

I think next time I would work on taping the foil down a bit more tight as I was nervous about ripping the foil with this, but otherwise the foil imprinted so well on the cardstock and now we have this adorable sticker that I can place in our home.
Project 5: Engraved Aluminum Sheet
Now to put the Cricut Maker 3 to the ultimate test, metal! We are avid campers and anywhere you go, people always have little plaques and such on their campers, so I wanted to make a little plaque for our home away from home. I designed this adorable sign and set up my strong grip mat with my engraving tip and got to engraving the aluminum sheet.

You do use masking tape to ensure that the sheet doesn’t slip, but the engraving itself was so fast and effortless. In the future, I will be adding an antiquing patina to it so that the engraving stands out a bit more, but otherwise, this turned out so perfect!


