Shopping for your next big craft purchase or looking to start a small business and interested in Cricut? This post on which Cricut should I buy will help! Plus you can
I am partnering with Cricut. All opinions are my own.


Cricut Explore Air 2 versus Cricut Maker 3
Cricut just released their Cricut Maker 3 and Cricut Explore 3 and I have had a ton of questions about the difference between the two machines and their older models. I just recently got my hands on the Cricut Maker 3 after owning the gorgeous Cricut Explore Air 2.

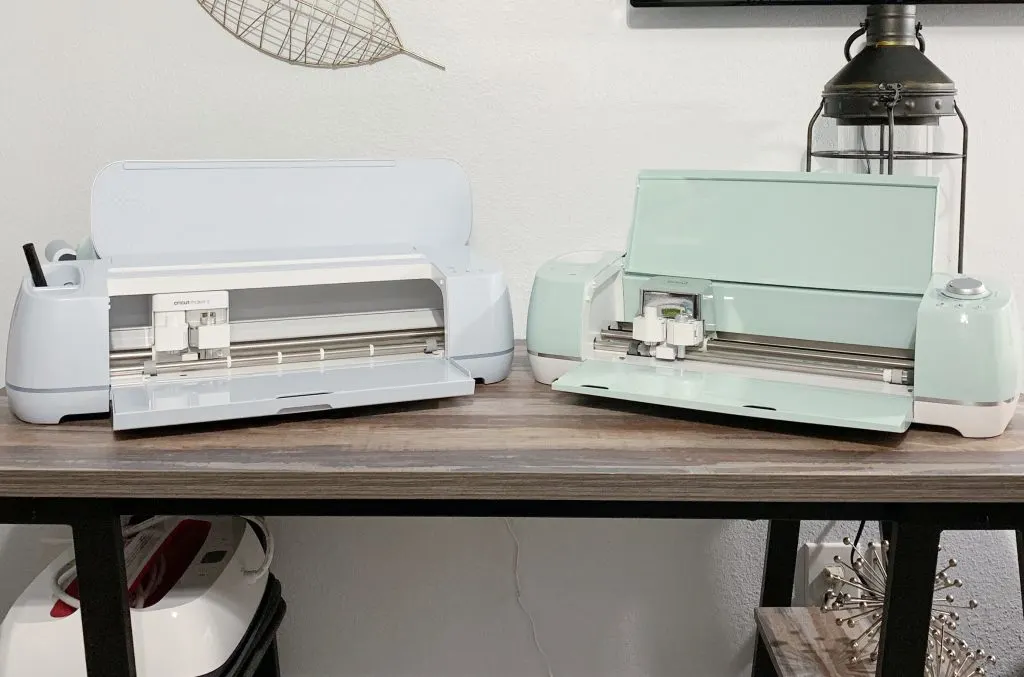
All of the Cricut machines are precise, utilize high quality materials and are sleek and easy to store. However, there are some vast differences between the Cricut Maker 3 and the Cricut Explore Air 2.
Explore Air 2
The Explore Air 2 is the older generation but the functionality compared to the newer Explore Air 3 is pretty similar. The biggest differences between the Explore Air 2 and the Explore Air 3 are the speed of cutting, the ability to cut Cricuts new Smart Materials and the length of materials that can be cut. The price for the Explore Air ranges from $200.00 for the Air 2 and $300 for the Air 3.


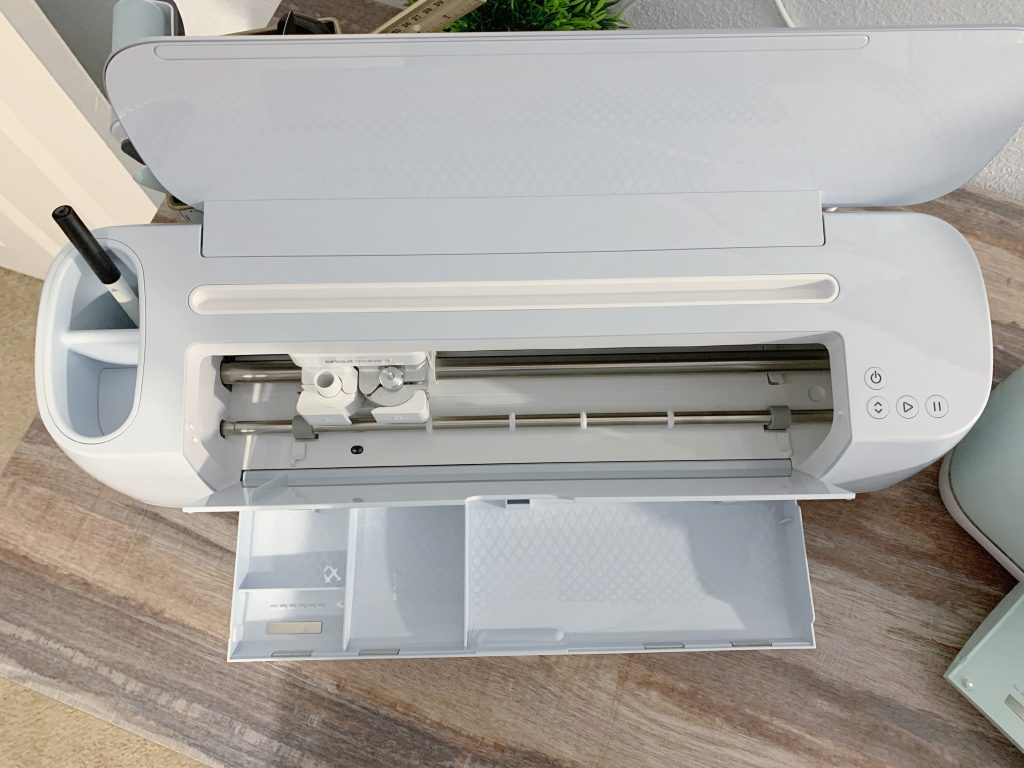
The Cricut Explore Air series can cut over 100 materials, has 6 tools that you can write, cut and score with and the ability to easily use Cricut Design Space. With the Explore Air 2 there is still a space for the original Cricut cartridges and on the new Explore Air 3 that feature is removed and they now have a small docking area to hold an ipad or other smart device.
Cricut Maker 3
The Cricut Maker 3 is the newest and most expensive machine offered by Cricut, however, for the performance, the price is really reasonable at $399.00. The Maker 3 can cut over 300 materials, has 13 optional tools, has a cut force of 10x the standard cut force and it also has the ability to cut the Smart Materials.

The Cricut Maker does weigh a bit more than the Explore Air machines by about 4 lbs and it also has the docking area to hold your smart devices. The storage on the Cricut maker is a bit more extensive and organized as well. Giving you more concise spaces to place your tools, extra blades, etc.
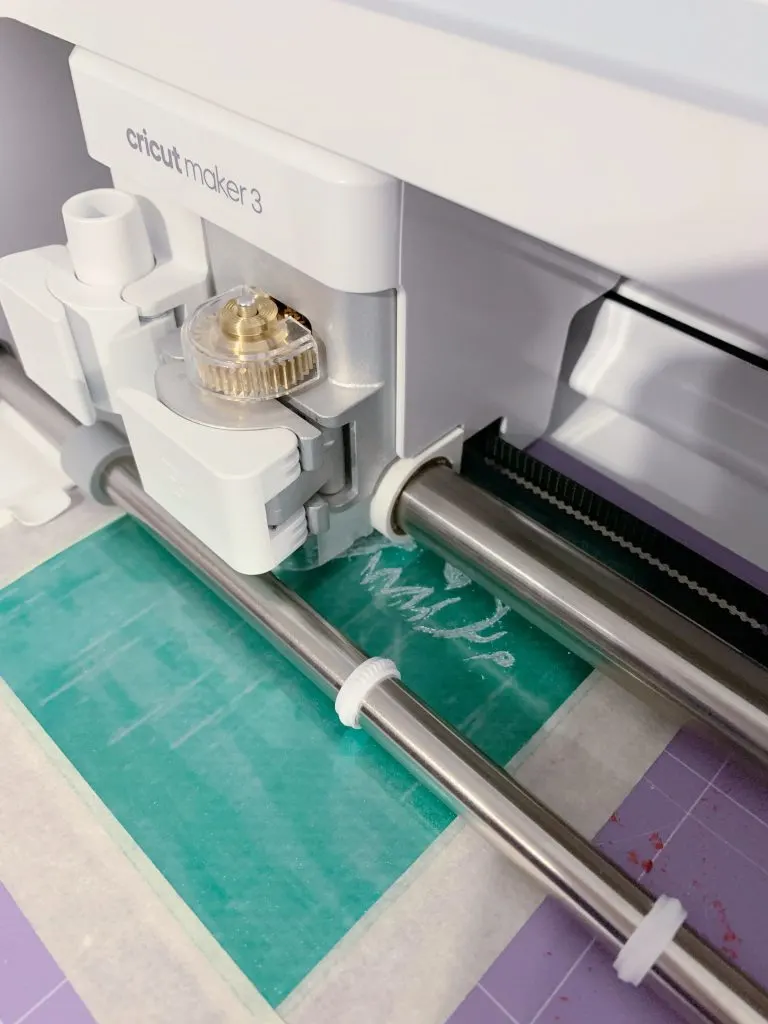
Metal Engraving with Cricut Maker 3
To showcase just one of the many projects that the Cricut Maker 3 can do that the Explore Air machines are not able to complete, I thought I would walk you through how to use Infusible Ink with the Maker 3 and engrave their aluminum sheets.


Supplies Needed for Infusible Ink Engraving
Make sure to grab these supplies if you want to repeat this project.
- Cricut Maker 3
- Cricut Aluminum Sheets
- Infusible Ink Sheet of your choice
- Cricut Heat Resistant Tape
- Cardstock
- Butcher Paper
- EasyPress 2
- EasyPress Mat
- Masking/Painters Tape
- Engraving Tip
- Strong Grip Mat
Steps to Infusible Ink Metal Engraving
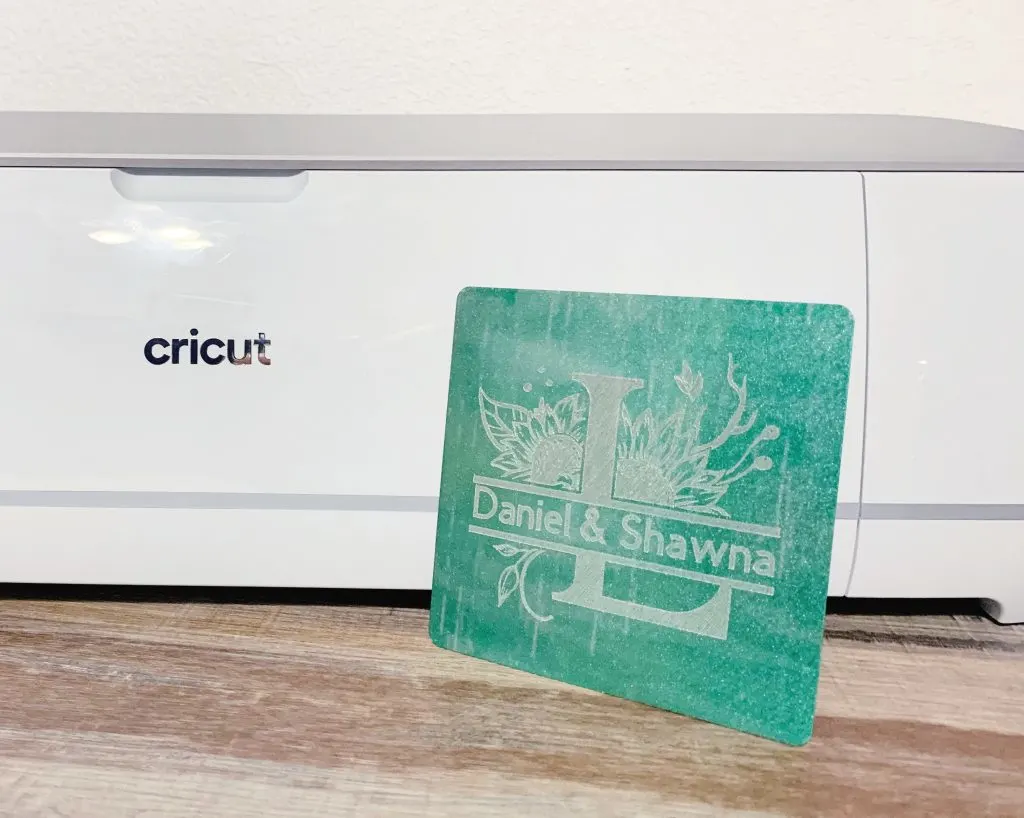
The Cricut Aluminum sheets have a film on each side of the metal. First remove that film and then cut your infusible ink sheet to fit the aluminum sheet with a slight hangover. From there begin layering to prep for the transfer.


Place your EasyPress Mat down, then your cardstock, A piece of butcher paper, your aluminum sheet, then infusible ink sheet and tape that down with your heat resistant tape. Add that last layer of butcher paper and then using your EasyPress 2, heat at 385 for 50 seconds.


Remove your EasyPress once done pressing and then allow the metal to completely cool before you move to the next steps. Once everything has cooled, you will need your strong grip mat, engraving tip, Cricut Maker 3 and masking tape.


Tape the newly infused aluminum sheet to the mat using masking tape. This will prevent slippage and ensure that your sheet is engraved precisely. Take whatever design you plan on using and make sure that the size fits within the space you have on your aluminum sheet.

Follow the prompts in Cricut Design Space to begin your engraving. Design Space will walk you through and check to make sure you have everything loaded right before it allows you to begin engraving. I did have to slightly move my design to make sure that it would be centered on the aluminum sheet before engraving.
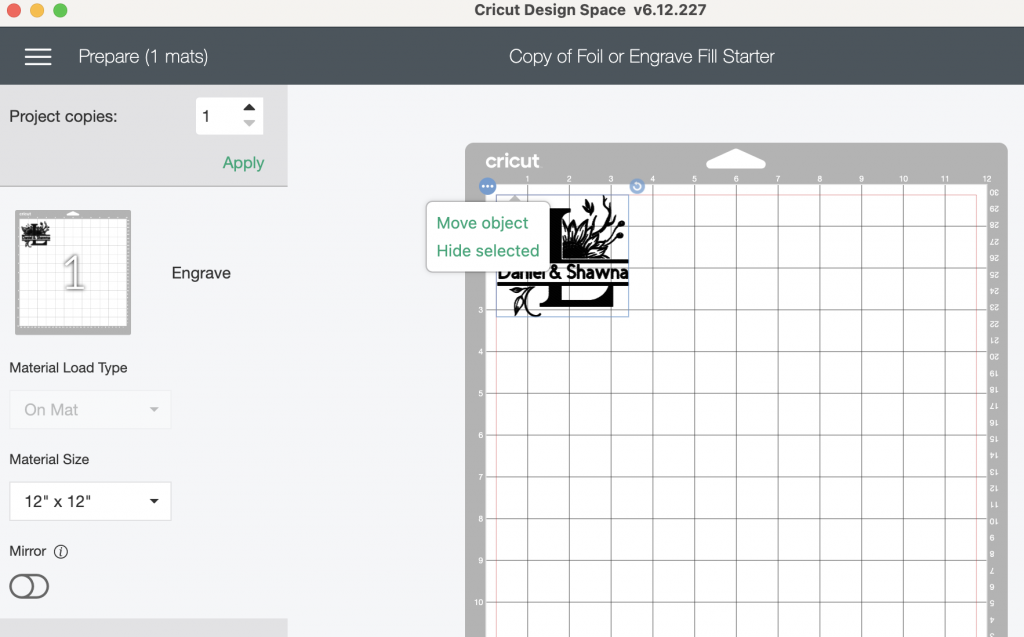
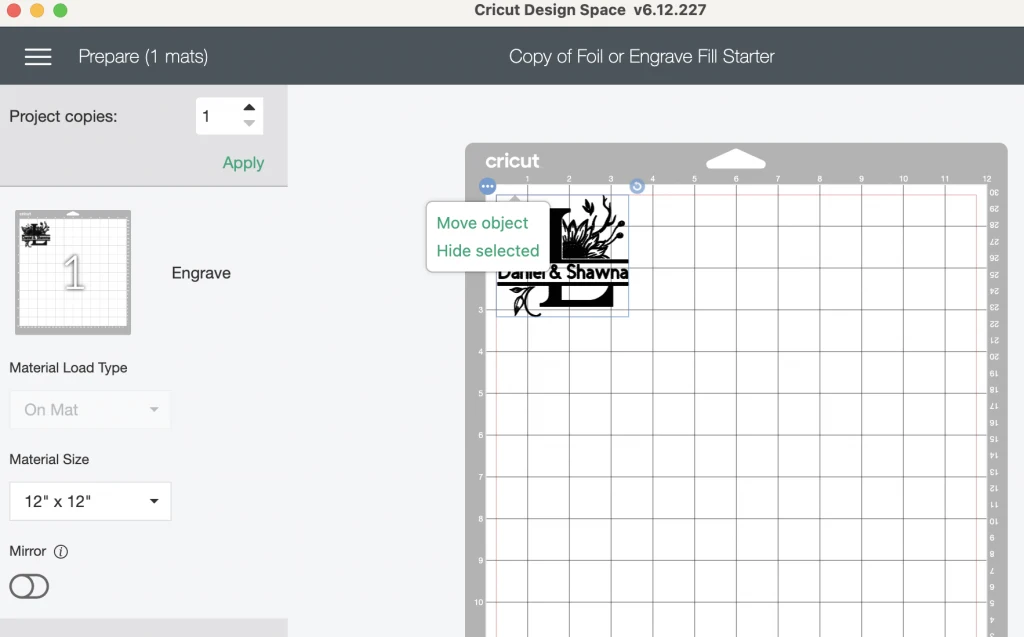
You can move your design by clicking the three dots in the corner of the design and then select “move object”. Then just use the guides on both your mat and Design Space to place your design in the area of the mat that your aluminum sheet is taped. Finish walking through set up and engrave.

Which Cricut Should I Buy?
Often I am asked, which Cricut should I buy? Honestly, that is a tough question to answer. It truly depends on what you are looking to create, your budget, your comfort level with various materials and even your craft space. The Explore Air series is a great starter series, offering you a step into utilizing design space to create vinyl, iron on, foil and more.


The Maker series allows you a lot more options and materials to work with. You can engrave metal, acrylic, cut leather with ease and even make intricate wood designs. I would say that the Maker is for someone that is a bit more advanced in working with die cut machines but is also someone who might be ready to take the next step in learning more materials and techniques. Bottom line is what Cricut you should buy depends on your needs and wants.


