Cricut has just released a new line of Infusible Ink blanks and I had to make something amazing with them. Get the tutorial and design for this Travel Beautifully Infusible Ink Cosmetic Bag.
Disclosure: I am partnering with Cricut. All opinions are my own.


Cricut Infusible Ink & NEW Blanks
I am just stepping into the world of Cricut Infusible Ink and I am really starting to just fall in love with it. I created these awesome bee coasters last month and was dying to try my hand with some other Infusible Ink blanks. Well, Cricut JUST released a new line of blanks that includes cosmetic bags, pillow covers, wine bags and toddler T-shirts and I grabbed those up and got to work!

What I love about Infusible Ink is that it is vibrant, permanent, pro-quality heat press transfers with no edges or seams when used on a compatible Infusible Ink Blank. It does not merely adhere to the fabric like an iron-on transfer or vinyl application, it becomes one with the material itself. This results in bright, beautiful and seamlessly smooth transfers that are flake-proof, peel-proof and wash-proof. I grabbed some Infusible Ink Cosmetic Bag Blanks first and got to work!
Supplies Needed for Infusible Ink Cosmetic Bag
To complete this project you will need:
- Cricut Design Space with Access and this design
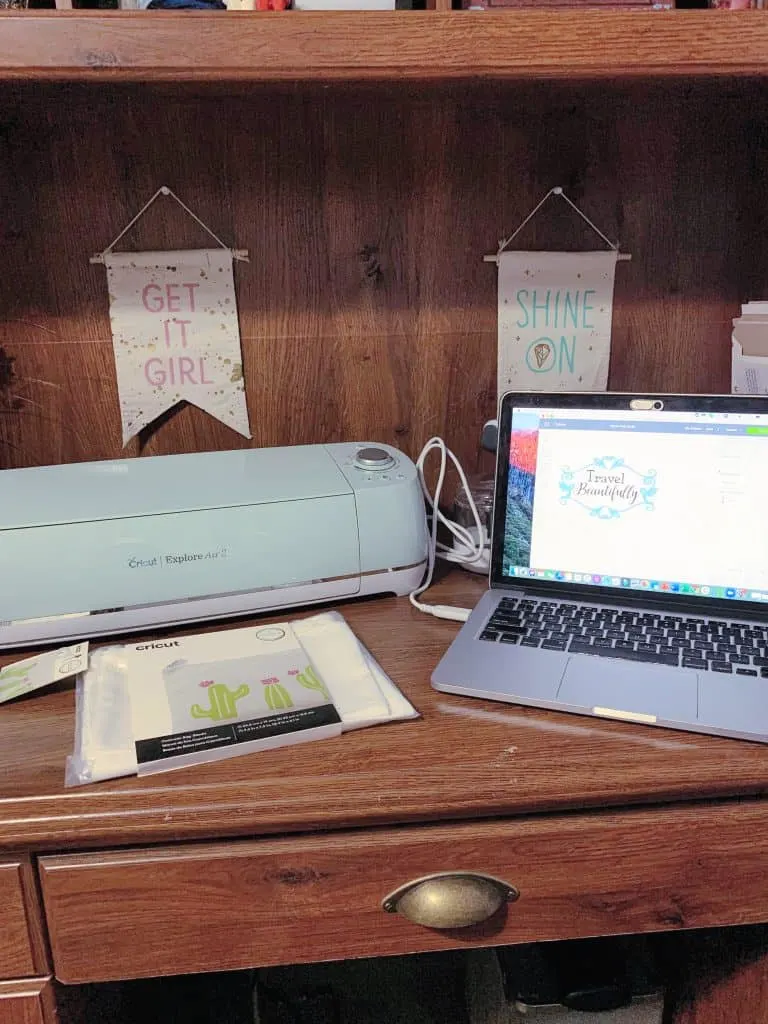
- Cricut Explore Air 2
- Cricut EasyPress 2
- Infusible Ink Cosmetic Bag Blanks
- Infusible Ink Transfers in Sparkle Mermaid & Rainbow Watercolor Splash

Setting Up The Design In Cricut Design Space
I wanted to keep the design simple as this was my first time using the actual Infusible Ink Transfer Sheets but I also wanted something that was vibrant and made a statement. When I travel I always use a cosmetic bag to hold my make-up, then I have a jewelry bag and a misc toiletries bag as well. I wanted to focus on travel, so I typed the first words that came to mind, “Travel Beautifully”.

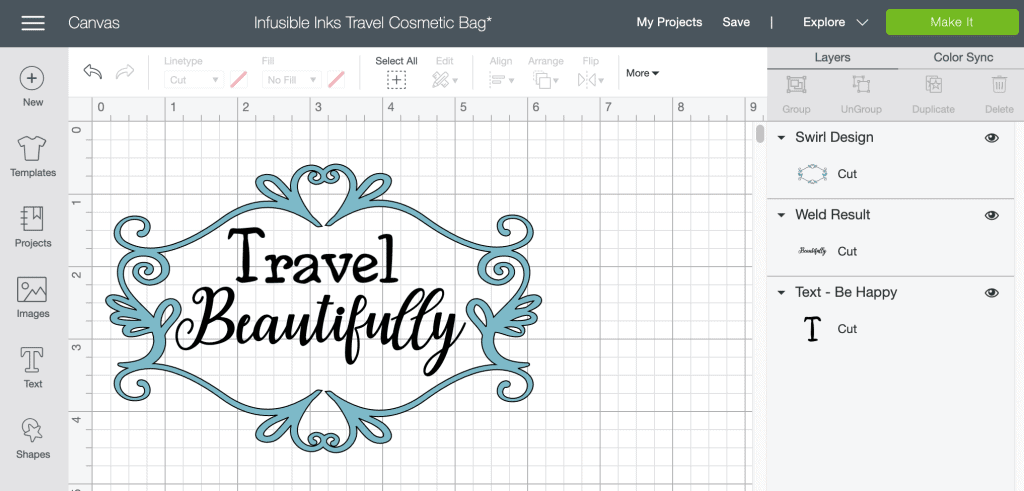
I adjusted the font and then wanted to add something that felt whimsical, but also framed these words. I found this swirl design in Cricut Design Space which was free with my access account. The cosmetic bag blanks come in 3 sizes, this particular design is designed for the smallest of the 3 sizes in the package.


I then hit “Make It” in Cricut Design Space, sorted my Infusible Ink Blanks onto the mats and MIRRORED the images and followed my Cricut Explore Air 2 machine prompts to select the correct material and settings to cut the design out.
Weeding & Pressing
After the design was cut out, I turned on my Cricut EasyPress 2 and set it to the recommended 385ºF for 60 seconds and let it warm up. I then started weeding the designs from the Infusible Ink Transfer Sheets.
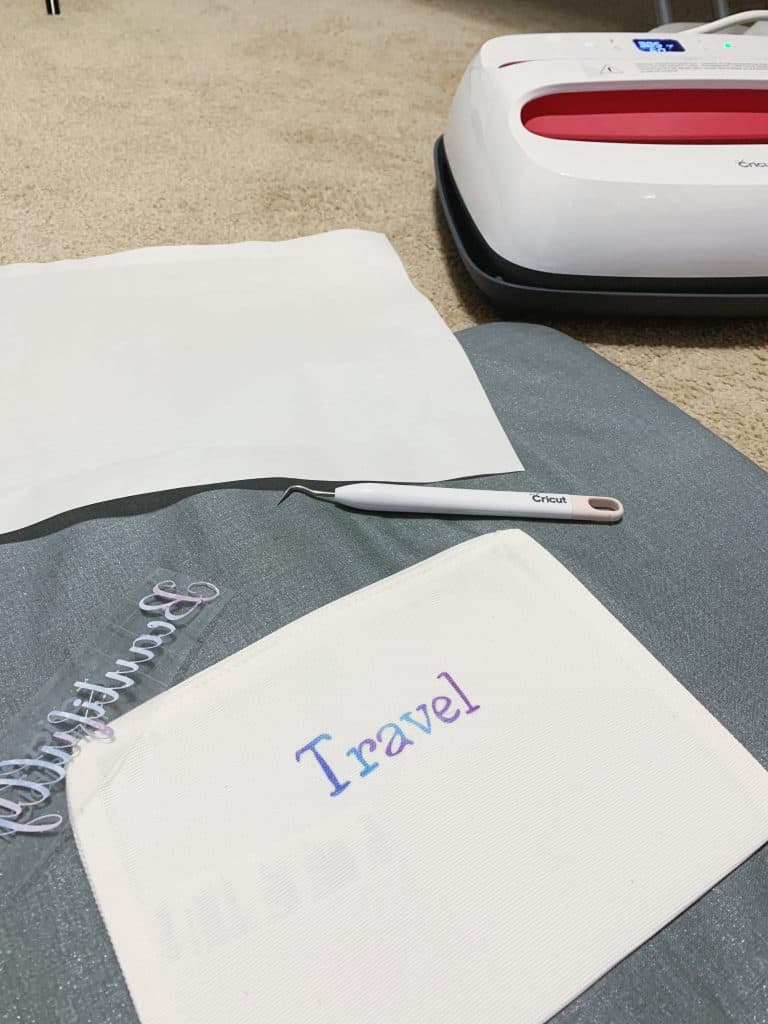

Weeding this material is not as easy as vinyl and I highly encourage that you do as much of it with your hands as possible as the transfer is delicate, however, if you have tiny areas to get into that are difficult to weed by hand, then gently use your Cricut weeding tool.
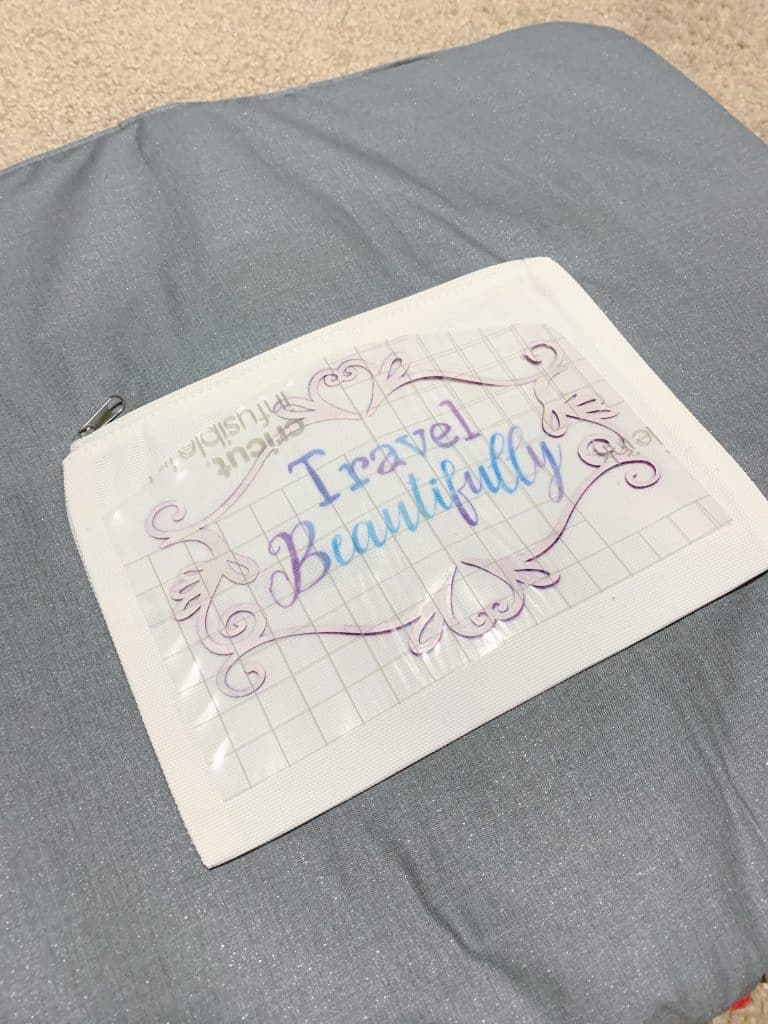

Once everything was weeded out, I went ahead and pressed it onto the cosmetic bag using my EasyPress mat. I pressed the words first and then the swirl. I followed all directions on the infusible ink transfers to make sure that my press came out perfect and exactly as I imagined.
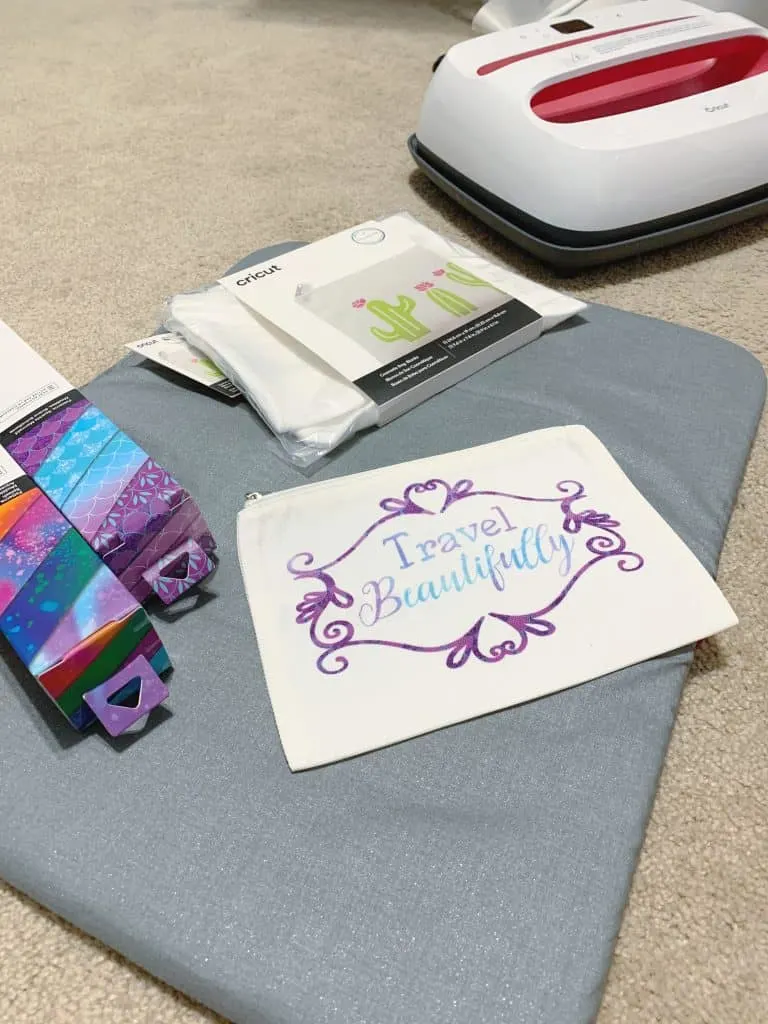
Travel Beautifully Infusible Ink Cosmetic Bag
The travel beautifully infusible ink cosmetic bag turned out stunning. I love the colors, I love how the ink just smoothly blends into the cosmetic bag fabric and the size is perfection. I am super excited to jump in and make my toiletries and jewelry bag too!


